Honeywell Home T6 Pro Programmable Thermostat
This guide details the installation of the Honeywell Home T6 Pro, covering components, wiring, mounting, and testing for models TH6320U2008, TH6220U2000, and TH6210U2001.
Overview of the T6 Pro
The Honeywell Home T6 Pro Programmable Thermostat offers a streamlined approach to home comfort management. This smart thermostat provides precise temperature control and adaptable scheduling, enhancing energy efficiency and reducing utility costs. Installation involves unpacking components like the thermostat itself, the UWP mounting system, and necessary hardware.
Compatibility checks are crucial before beginning, ensuring proper wiring for forced air or hydronic systems. The T6 Pro supports various system configurations, including conventional and heat pump setups. Detailed instructions guide installers through wiring terminal designations and secure thermostat mounting, culminating in a comprehensive system test for optimal performance.
Model Numbers Covered
This installation guide comprehensively covers several Honeywell Home T6 Pro thermostat models, ensuring compatibility and accurate setup procedures. Specifically, these instructions apply to model number TH6320U2008, offering advanced programmable features. It also includes detailed guidance for model TH6220U2000, a widely utilized version.
Furthermore, the manual supports the installation process for model TH6210U2001, providing consistent instructions across the T6 Pro series. Understanding the specific model number is vital for accessing relevant features and troubleshooting potential issues during and after the installation process.
Package Includes
The package contains the T6 Pro thermostat, UWP mounting system, a J-box adapter, a decorative cover plate, screws, anchors, and two AA batteries.
Thermostat Components
The Honeywell Home T6 Pro thermostat features a sleek, modern design with an easy-to-read touchscreen display. Key components include the thermostat body itself, housing all electronic controls, and the interactive display for user settings. The unit incorporates a temperature sensor for accurate readings, and a humidity sensor for enhanced comfort control. It also features a built-in Wi-Fi module enabling remote access and smart home integration. The rear of the thermostat contains the wiring terminal block for connecting to HVAC systems, and a dedicated space for battery backup ensuring continued operation during power outages.
Mounting System Details
The Honeywell T6 Pro utilizes a Universal Wall Plate (UWP) mounting system for versatile installation. This system accommodates various wall configurations and existing wiring setups. The UWP provides a secure base for the thermostat, ensuring stable operation. An optional Honeywell Standard Installation Adapter (J-box adapter) is included for compatibility with existing J-box setups. The mounting plate features clearly marked wire entry points and strain relief to maintain a neat and professional appearance. Proper alignment and secure fastening are crucial for optimal performance and aesthetic integration.
Included Hardware
The Honeywell Home T6 Pro package contains essential components for a successful installation. You’ll find the T6 Pro Thermostat itself, alongside the Universal Wall Plate (UWP) mounting system. Two AA batteries are provided to power the thermostat, ensuring immediate functionality. A Honeywell decorative cover plate – small, measuring 4-49/64 x 4-49/64 x 11/32 inches (121 mm x 121 mm x 9 mm) – is included for aesthetic customization. Finally, screws and anchors are supplied for secure wall mounting, completing the hardware set.
Optional Cover Plate Installation
A small decorative cover plate is included, measuring 4-49/64 x 4-49/64 x 11/32 inches, to enhance the thermostat’s appearance after mounting.
Cover Plate Dimensions
The included Honeywell decorative cover plate is designed to provide a finished aesthetic to the thermostat installation. Its dimensions are precisely 4-49/64 inches in width and 4-49/64 inches in height, with a depth of 11/32 inches. These measurements, equivalent to 121 mm x 121 mm x 9 mm, ensure a snug and visually appealing fit over the installed thermostat.
This cover plate is intended to conceal any mounting imperfections or wiring, presenting a clean and professional appearance on the wall. It’s a subtle yet effective detail for a polished installation.
Aesthetic Considerations
When installing the Honeywell Home T6 Pro, consider the surrounding décor. The thermostat’s design aims for a modern, minimalist look, blending seamlessly into most interiors. The included decorative cover plate further enhances this, concealing mounting hardware and providing a clean finish.
Careful placement is key; avoid direct sunlight or areas prone to drafts. Ensure the thermostat is level for optimal visual balance. Thoughtful installation contributes to both functionality and the overall aesthetic appeal of the room.
UWP Mounting System Installation
The Universal Wall Plate (UWP) system simplifies installation, offering flexibility and secure mounting for the T6 Pro thermostat on various wall types.
Mounting Base Installation
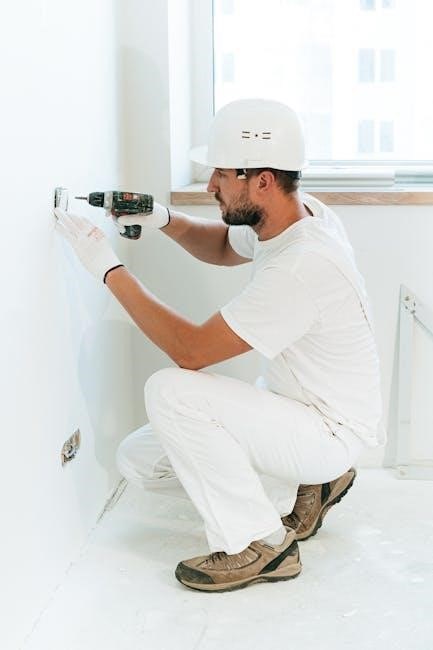
Begin by detaching the mounting base from the Honeywell T6 Pro thermostat. Carefully position the base on the wall at the desired location, ensuring it’s level for optimal appearance and functionality. Utilize a pencil to mark the screw hole locations.
Drill pilot holes at the marked spots, appropriate for your wall material. Insert the provided wall anchors if necessary, particularly for drywall installations. Secure the mounting base to the wall using the supplied screws, tightening them firmly but avoiding over-tightening to prevent damage. Verify the base is securely attached before proceeding.
Wiring Access and Management
The UWP mounting system provides ample space for wiring connections. Gently remove the wiring access cover on the mounting base to reveal the terminal block. Carefully feed the existing thermostat wires through the opening in the base, ensuring sufficient slack for easy connection.
Arrange the wires neatly behind the mounting base, avoiding any pinching or strain. Utilize the provided wire management features, if available, to keep the wiring organized and prevent interference with the thermostat’s operation. Secure the wiring access cover once all connections are made.
Wiring Terminal Designations
Terminal identification is crucial for correct wiring. This section details each terminal’s function, supporting various system configurations for proper T6 operation.
Terminal Identification
Understanding each terminal is vital for successful installation. R connects to 24VAC power, while C provides the common wire, essential for consistent power. W activates the heating system, and Y controls cooling. G operates the fan, and O/B reverses the heat pump valve.
Aux (auxiliary heat) provides supplemental heating, and E controls emergency heat. L energizes the fan during a call for heat. Proper identification ensures correct system functionality and prevents damage. Always verify wiring against your specific HVAC system’s configuration before proceeding.
Common Wiring Configurations
Typical setups include conventional systems with R, C, W, Y, and G wires for basic heating and cooling. Heat pump systems often add O/B for reversing valve control and Aux for auxiliary heat. Systems without a C wire may require a Honeywell adapter for consistent power.
For multi-stage systems, additional wires like W2 and Y2 control second-stage heating and cooling. Always consult your HVAC system’s wiring diagram to confirm correct connections before proceeding with the installation.
Wiring Conventional Systems: Forced Air and Hydronics
This section details wiring for standard forced air and hydronic heating systems, ensuring proper connection of wires like R, C, W, Y, and G.
Forced Air System Wiring
Forced air systems typically require connections for power (R), common (C), heating (W), cooling (Y), and fan (G). Ensure the system’s power is off before wiring. Connect the R wire to the Rh or Rc terminal, depending on your system configuration – a jumper may be needed. The W wire connects to W1 for conventional heating, and Y to Y for cooling.
The G wire controls the fan. Proper wiring ensures correct operation of both heating and cooling functions. Double-check all connections against your existing wiring and the system diagram before restoring power. Incorrect wiring can damage the thermostat or HVAC system.
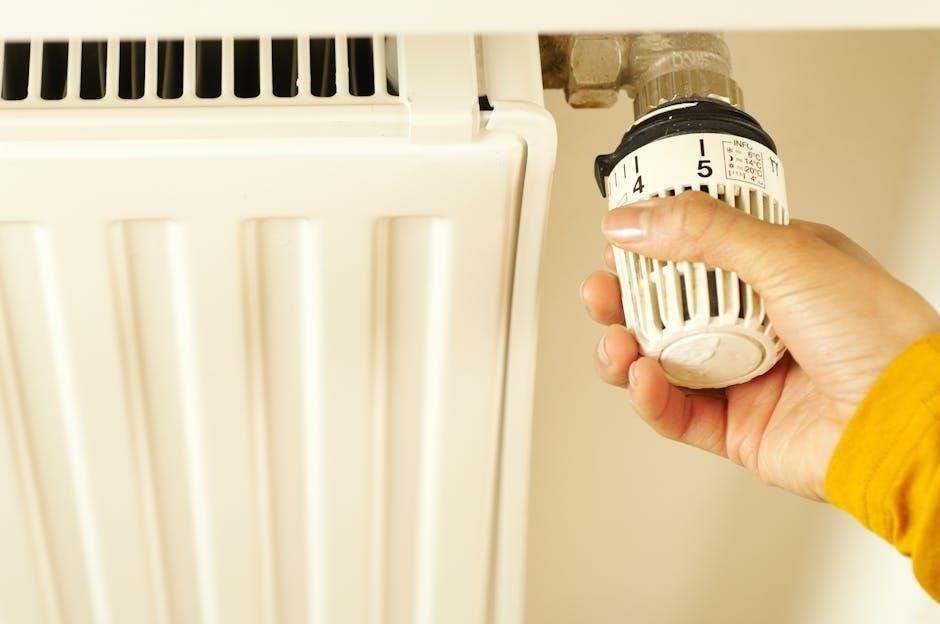
Hydronic System Wiring
Hydronic systems, utilizing hot water for heating, generally require connections for power (R), common (C), and heating (W). Unlike forced air, a separate cooling wire (Y) isn’t typically present. Connect the R wire to Rh or Rc, utilizing a jumper if necessary. The W wire connects to W1, activating the heating system.
Ensure proper voltage compatibility between the thermostat and the hydronic system’s control board. Verify wiring against existing setup and system diagrams before powering on. Incorrect connections can lead to system malfunction or damage.

Thermostat Mounting
Secure the T6 Pro to the wall using provided screws and anchors, ensuring a level installation. Then, connect the power to initiate operation.
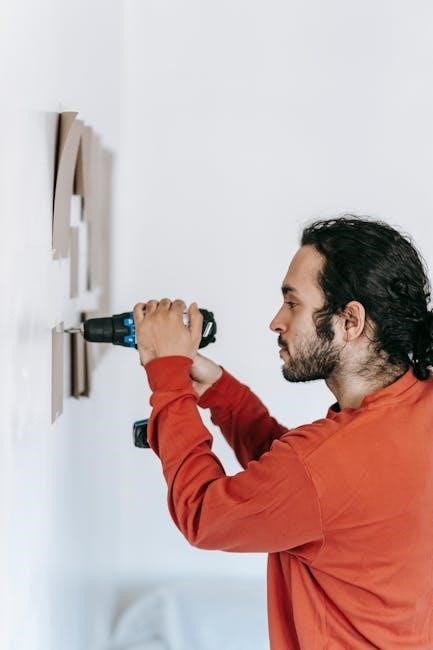
Securing the Thermostat to the Wall
After wiring is complete and verified, carefully align the T6 Pro thermostat with the mounted baseplate. Gently push the thermostat onto the baseplate until it clicks securely into place. Ensure it’s flush against the wall for a clean appearance and proper operation.
If using the provided screws, pre-drill pilot holes if necessary, especially in harder wall materials. Use the appropriate anchors for your wall type to guarantee a stable and lasting mount. Avoid over-tightening the screws, as this could damage the thermostat or the wall. Double-check that the thermostat is level before finalizing the installation.
Powering the Thermostat
The Honeywell T6 Pro thermostat can be powered by either hardwiring (24VAC) or by using two AA batteries as a backup or primary power source. If hardwired, ensure the power is OFF at the breaker before connecting wires. Battery installation involves opening the thermostat faceplate and inserting the batteries into the designated compartment, observing correct polarity.
For battery operation, the thermostat will display a low battery warning when replacement is needed. Hardwiring takes precedence; batteries serve as backup during power outages. Verify proper power-up by checking the display after installation.

System Operation Settings
Configure heating and cooling modes, alongside fan control settings, to personalize your comfort preferences within the Honeywell T6 Pro thermostat’s intuitive interface.
Heating and Cooling Modes
The Honeywell T6 Pro offers versatile heating and cooling modes to match your needs. Select “Heat” for standard furnace operation, warming your home based on the set temperature. “Cool” activates air conditioning, providing cooling relief during warmer months. “Auto” intelligently switches between heating and cooling to maintain your desired temperature, optimizing energy efficiency.
“Off” disables both heating and cooling functions. Furthermore, the thermostat supports programmable schedules, allowing you to customize these modes throughout the day and week, ensuring comfort and savings. Explore options like “Hold” to temporarily override schedules, maintaining a consistent temperature until manually adjusted.
Fan Control Settings
The Honeywell T6 Pro provides several fan control options for enhanced comfort and air circulation. “Auto” mode operates the fan only during heating or cooling cycles, maximizing energy efficiency. “On” keeps the fan running continuously, providing consistent airflow and potentially improving air quality.
A “Circulate” setting intermittently runs the fan, even when heating or cooling isn’t active, helping to distribute air evenly throughout your home. You can also program schedules to adjust fan operation based on your daily routines, optimizing both comfort and energy savings. Experiment to find the best setting for your needs.
Installer System Test
Post-installation, verify correct wiring and ensure proper heating, cooling, and fan operation through a comprehensive functional test of the Honeywell T6 Pro.
Verification of Wiring
Before powering on the Honeywell T6 Pro, meticulously double-check all wiring connections against the specific system diagram. Confirm each wire is securely fastened to the correct terminal, referencing the terminal identification guide.
Ensure no stray wire strands are present to prevent shorts. Verify the common wire (C-wire) is properly connected, as it’s crucial for consistent power. A missing or loose C-wire can cause operational issues.
Visually inspect for any damaged wiring or improper connections. Correct any discrepancies before proceeding to the functional testing phase to avoid potential system malfunctions or damage.
Functional Testing
After verifying wiring, restore power to the Honeywell T6 Pro. Initiate a heating cycle and confirm the system responds appropriately, observing the blower and heat source activation. Repeat this process for cooling, ensuring the air conditioner engages correctly.
Test fan operation in auto and on modes, verifying proper airflow. Cycle through different temperature setpoints to confirm accurate temperature control and responsiveness. Observe the thermostat display for any error messages or unusual behavior.
Document all test results and address any issues immediately.
Specifications
Electrical and physical details for the T6 Pro include battery type (AA), dimensions (4.7 x 3.1 x 0.8 inches), and voltage requirements (24VAC).
Electrical Specifications
The Honeywell Home T6 Pro thermostat operates on 24VAC, ensuring compatibility with most standard heating and cooling systems. It requires two AA alkaline batteries as a power backup, maintaining programmed settings during power outages. The thermostat’s power consumption is minimal, contributing to energy efficiency. It supports a wide voltage range, typically between 20-30 VAC. Proper wiring and voltage levels are crucial for optimal performance and longevity of the device, preventing potential damage or malfunction. Always verify system voltage before installation to avoid issues.
Physical Specifications
The Honeywell Home T6 Pro thermostat features a compact design with dimensions of approximately 4-49/64 inches in width and height, and 11/32 inches in depth (121 mm x 121 mm x 9 mm). Its decorative cover plate enhances aesthetics, blending seamlessly with various interior decors. The thermostat is constructed from durable materials, ensuring long-lasting performance. It’s designed for easy wall mounting using included screws and anchors. The unit’s lightweight build simplifies the installation process, making it accessible for both professionals and DIY enthusiasts.

Troubleshooting
Common issues and error code interpretations are detailed to assist with diagnosing and resolving problems encountered during or after T6 installation.
Common Issues and Solutions
Several issues may arise during Honeywell T6 Pro installation. A frequent problem is incorrect wiring, leading to the thermostat not powering on or operating incorrectly; double-check terminal connections. Another common issue involves incorrect system configuration, resulting in improper heating or cooling.
If the display is blank, verify battery installation and voltage. For unresponsive touchscreens, a reset might be necessary. Communication errors with the system can often be resolved by confirming compatibility and proper wiring. Refer to the installation manual’s wiring diagrams for accurate connections.
Error Code Interpretation
The Honeywell T6 Pro displays error codes to indicate system malfunctions. A “W” error often signifies a wiring issue with the heating system, while an “E” code points to electrical problems or sensor failures. “C” errors relate to common wire (power) connectivity, crucial for consistent operation.
Consult the installation manual for a complete list of codes and their meanings. Some codes require professional assistance, like those indicating a faulty furnace control board. Always attempt a thermostat reset before contacting support, and carefully review wiring connections based on the error displayed.

REFERENCE: Honeywell Home T6
Access the complete Honeywell T6 Installation Manual PDF online for detailed guidance, compatibility checks, and advanced setup instructions for your thermostat.
Accessing the Installation Manual PDF
The comprehensive Honeywell Home T6 Pro Installation Manual is readily available in PDF format online. This digital resource provides an exhaustive guide for installers and homeowners alike, ensuring a smooth and accurate setup process.
It details everything from initial system compatibility verification to advanced configuration options. You’ll find clear diagrams illustrating wiring schematics for various heating and cooling systems, alongside troubleshooting tips for common issues.
Downloading the PDF allows for offline access and convenient reference during installation, ensuring you have all the necessary information at your fingertips. Find the manual on the Honeywell Home support website.
Additional Resources
Beyond the installation manual, Honeywell Home offers a wealth of support materials for the T6 Pro thermostat. Their official website features frequently asked questions (FAQs) addressing common setup and operational concerns. Interactive troubleshooting tools can help diagnose and resolve issues quickly.
Furthermore, Honeywell provides a library of helpful videos demonstrating key installation steps and programming features. Customer support is also accessible via phone and online chat for personalized assistance. These resources ensure a seamless experience.
Authorized Honeywell dealers can also provide professional installation and support services, guaranteeing optimal performance and system integration.