
Infiltrator septic tanks offer innovative, durable solutions for wastewater management. Their lightweight design and custom-fit risers simplify installation while ensuring long-term reliability. Proper planning and compliance with local regulations are essential for a successful, long-lasting system.
Overview of Infiltrator Septic Tanks
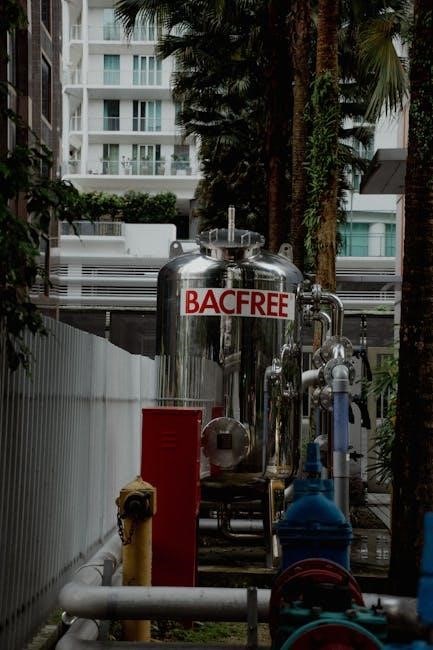
Infiltrator septic tanks are renowned for their durability and lightweight design, making them a popular choice for wastewater management. Constructed from injection-molded plastic, these tanks are watertight and designed to withstand long-term use. Their custom-fit risers and heavy-duty lids enhance versatility and strength. Infiltrator tanks are ideal for various installation scenarios, including shallow setups and multiple tank configurations. They are also compatible with pressure dosing, level distribution, and sand filter applications. The lightweight material simplifies handling and installation while maintaining structural integrity. These tanks are engineered for superior performance, offering a reliable solution for both residential and commercial septic systems. Their innovative design ensures adaptability to diverse site conditions, making them a preferred option for installers and homeowners alike.
Importance of Proper Installation
Proper installation of Infiltrator septic tanks is crucial for ensuring system longevity, functionality, and environmental safety. Improper installation can lead to leaks, contamination, and premature system failure. Compliance with local regulations and manufacturer guidelines is essential to avoid legal issues and ensure the system operates effectively. Correct excavation, backfilling, and assembly techniques prevent structural damage and maintain the tank’s watertight integrity. Proper installation also protects public health by safely managing wastewater. Adhering to installation instructions ensures the system functions as intended, providing reliable service for years. It is vital to follow all specified procedures to guarantee a successful and durable septic system.
Pre-Installation Planning and Preparation
Pre-installation planning involves site evaluation, obtaining permits, and ensuring compliance with local regulations. Proper preparation guarantees a smooth and legally compliant septic system installation.
Site Evaluation and Local Regulations
Site evaluation is critical to ensure compliance with local regulations and suitability for septic tank installation. Assess soil type, drainage patterns, and water table levels to determine the best placement. Local building codes and environmental regulations must be reviewed to avoid legal issues. Obtain necessary permits and approvals before commencing the project. The installation must adhere to guidelines set by local authorities, which may include specific requirements for tank placement and system design. Proper site preparation and regulatory compliance ensure a safe and efficient septic system. Always consult local health departments for detailed instructions and inspections.
Obtaining Necessary Permits
Obtaining the necessary permits is a critical step in the septic tank installation process. Permits ensure compliance with local, state, and environmental regulations. Before starting the project, apply for the required permits through your local health department or permitting authority. The application may require detailed system designs, site plans, and soil analysis reports. Be prepared to submit all necessary documentation to demonstrate compliance with regulations. Inspections may be conducted during and after installation to verify adherence to standards. Failure to obtain permits can result in legal consequences and system non-compliance. Always consult local authorities for specific requirements to ensure a smooth and lawful installation process.

Installation Process
The installation involves excavation, placing the tank, and backfilling. Ensure proper site preparation and follow manufacturer guidelines for a secure and efficient system setup.
Excavation and Site Preparation
Excavation begins with digging a hole to the required depth, ensuring it matches the tank’s height. The IM-1060 needs 55 inches, while TW-900 through TW-1500 require 51 inches. The site must be level to prevent uneven settling. Excavation width and length should be 18 to 36 inches larger than the tank for easy handling. Proper preparation includes compacting the base to avoid settling issues. Infiltrator tanks do not require pre-filling with water unless the excavation is left open, risking water accumulation. Adhere to local regulations and manufacturer guidelines for a stable foundation.
Placing and Assembling the Tank
Place the Infiltrator tank in the excavated area, ensuring it is aligned correctly. The tank is lightweight and designed for easy handling, but care must be taken to avoid damage. IM-Series tanks come in two pieces that clip together, simplifying assembly. The interlocking design ensures a watertight seal without additional sealing materials. Proper placement involves aligning the tank’s inlet and outlet ports according to the system design. Once positioned, the tank is ready for connection to the risers and other components. Follow the manufacturer’s instructions for assembly to ensure structural integrity. Adhere to local regulations and guidelines for proper placement and assembly to guarantee system functionality and longevity.
Backfilling and Finalizing the Installation
After placing the tank, backfill the excavation carefully to avoid damaging the tank or risers. Use suitable backfill material, ensuring it is evenly distributed and compacted in layers. Infiltrator tanks do not require pre-filling with water unless the excavation is left open and may accumulate water. Once backfilled, inspect the tank and connections for integrity. Finalize by grading the surface and restoring the landscape. Proper backfilling ensures system stability and prevents future issues. Always follow local regulations and manufacturer guidelines for backfilling procedures to guarantee a safe and functional septic system. This step is critical for the long-term performance of the installation.

Post-Installation Configuration
After installation, connect all system components, ensuring proper functionality. Test the system for leaks and performance. Configure risers and pipes according to design specifications. Finalize connections to ensure efficient wastewater treatment and distribution, adhering to local regulations and manufacturer guidelines for optimal system performance and environmental safety.
Connecting the Septic System Components
Connecting the septic system components is a critical step in ensuring proper functionality. Start by linking the Infiltrator septic tank to the risers and distribution pipes, ensuring all connections are watertight. Follow local codes and manufacturer guidelines to connect the tank to the drainfield or other treatment components. Properly attach the inlet and outlet pipes, making sure they are aligned and securely fastened. Use compatible connectors and seals to prevent leaks. For systems requiring pumps or additional treatment units, ensure these are integrated correctly. Double-check all connections for tightness and integrity before backfilling. Proper connections ensure efficient wastewater flow and treatment, safeguarding the system’s performance and environmental safety.
Testing the System for Leaks and Functionality
After installation, thoroughly test the system for leaks and functionality. Conduct a visual inspection of all connections, ensuring they are secure and watertight. Perform a water flow test by introducing water into the system to check for proper distribution and drainage. Pressure testing may also be necessary to verify the integrity of pipes and connections. Ensure the septic tank and components function as designed, with no signs of leakage or blockage. Proper testing guarantees the system operates efficiently and complies with safety and environmental standards. Address any issues promptly before finalizing the installation to ensure long-term performance and reliability.
Maintenance and Longevity
Regular inspections and adherence to local codes ensure the system’s longevity. Proper maintenance practices prevent premature wear and extend the lifespan of the Infiltrator septic tank.
Regular Inspections and Maintenance Tips
Regular inspections are crucial to ensure the longevity and functionality of Infiltrator septic tanks; Homeowners should inspect the system annually, checking for signs of wear, proper water flow, and drainfield performance. Maintaining the tank involves ensuring risers and lids are secure and functioning correctly. It’s important to monitor for any leaks or water pooling near the tank or drainfield, as these can indicate potential issues. Additionally, adhering to local regulations and manufacturer guidelines ensures compliance and prevents system failure. Regular pumping of the tank every 3-5 years is recommended to remove solids and prevent clogs. Professional inspections are also advised to identify and address problems early, ensuring the system operates efficiently for years to come.
Ensuring Compliance with Local Codes
Ensuring compliance with local codes is vital for a successful Infiltrator septic tank installation. Local regulations often supersede manufacturer instructions, so it’s essential to verify specific requirements with your health department or permitting authority. Always obtain necessary permits and adhere to guidelines regarding tank placement, depth, and system design. Compliance ensures the system functions properly, avoids legal issues, and protects the environment. Regular inspections and adherence to maintenance schedules also help maintain compliance. By following local codes, you ensure a safe, efficient, and long-lasting septic system. Proper compliance not only meets legal standards but also safeguards your property and community health.